Final Project
Aim
The final project is to recreate a motorcycle tank from scratch from programming to metal shaping.
Procedure
1
Use Photogrammetry or Rhino/Grasshopper techniques to create a 3D model of your chosen fuel tank. After, use Autodesk Slicer for Fusion 360 to prepare your fuel tank template for laser cutting or CNC machining. After that, assemble your template.


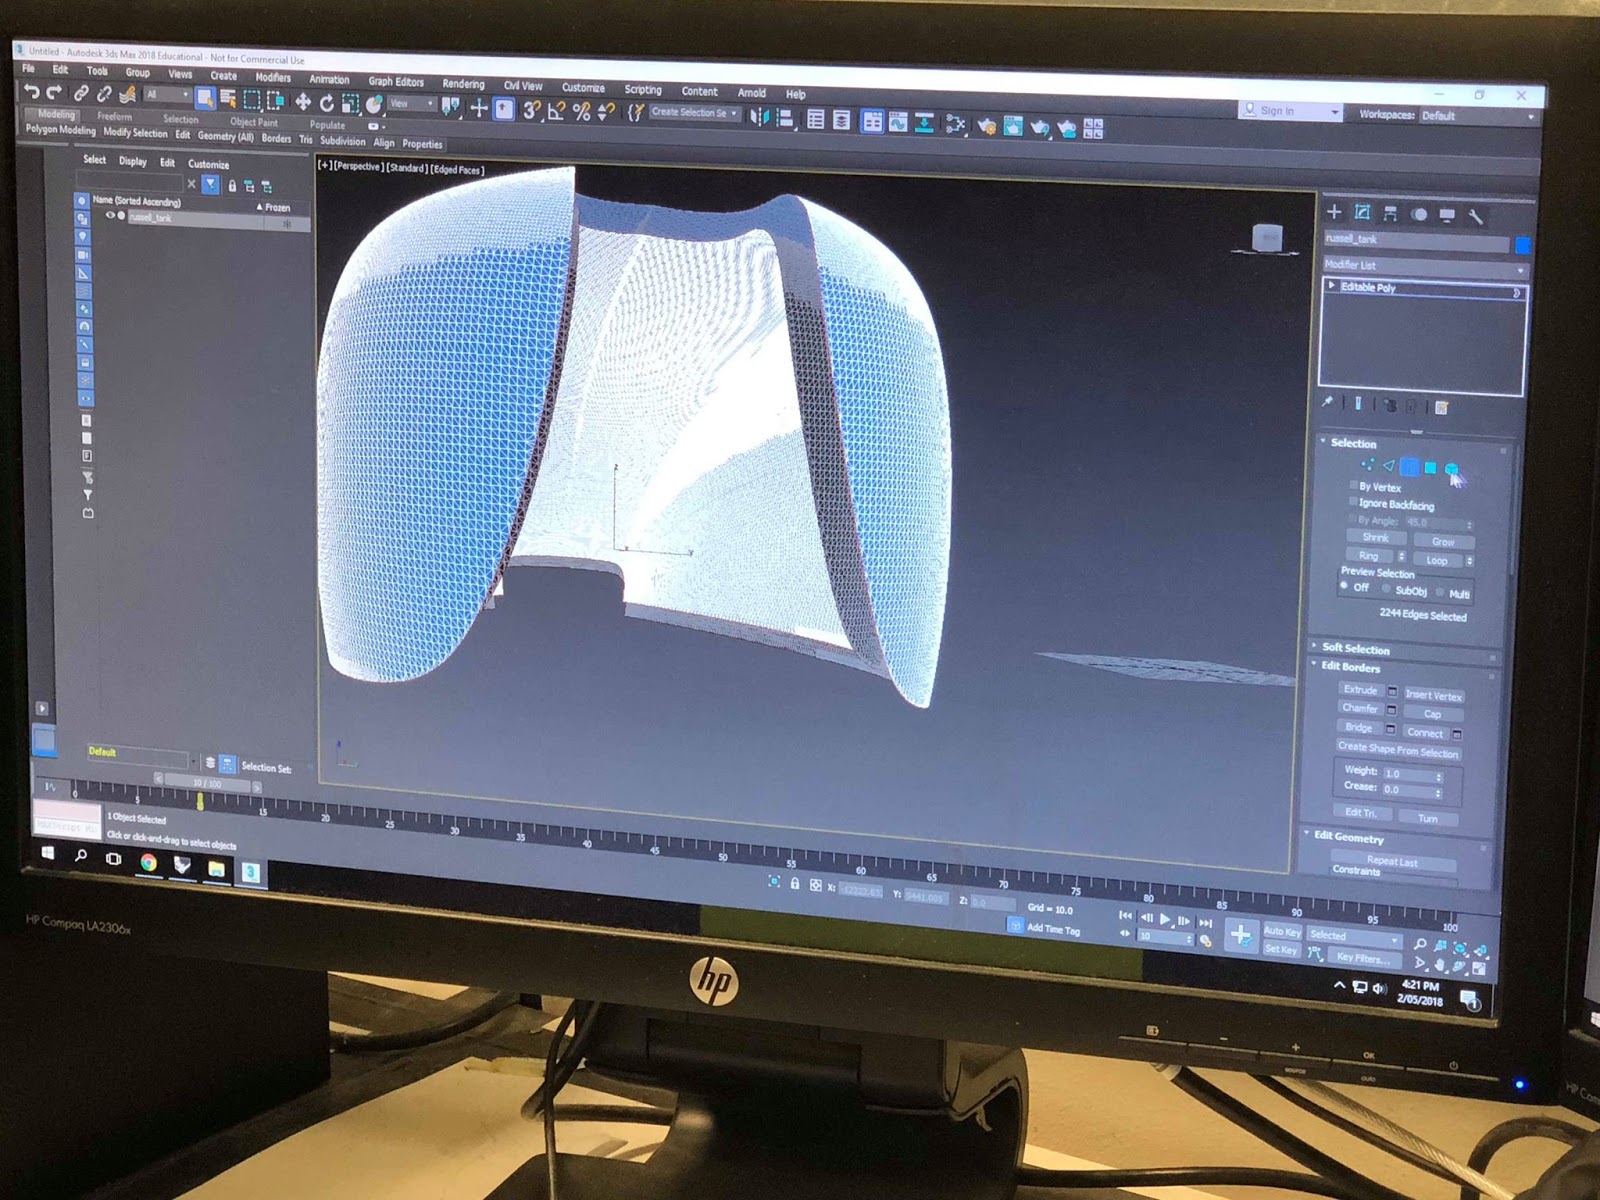


Rhino/Grasshopper techniques with Autodesk Slicer for Fusion 360 done by Russel


Laser Cutting the model and putting pieces in order


Assembly of the model completed version
2.
It is important to be able to shape the model, a 'pattern skin' should be created for it. To be able to make the 'pattern skin', a 'skin' of the model needs to be created for the 'pattern skin' to be able to trace it. The 'pattern skin' is created using 2 A3 paper. The group has 3 team members which splits on the 3 parts of the motorcycle tank and I have chosen the right side of the motor cycle looking from top to bottom.


Model 'skin' using masking tape over it with 3 layers


Final Model 'Skin' + Selected Part


2 A3 Paper been outlining the main turning points of the model


Using the radius gauge to check the angle curvature of the model + The final 'pattern skin'
3.
Metal-shaping the motorcycle tank from an aluminium sheet been provided by Gabe.


Aluminium sheet + 'pattern skin' drawn on aluminium sheet


Cutting using the gullotine


Using the roller to roll the aluminium sheet into shape


Using the English Wheel to make it curve from a vertical side


Using the file make the edge more smoother


At the top end of the metal, the edge was a bit out so using the shrinking and stretching material to fix the edge while also the other curvature to give it a better grip towards the model.


Using the bead roller, having to made a contour platform line for the top piece where it is excess to let it sit on my piece.
4.
Result


Comments
Post a Comment